Kitchen tiles can be a great way to add style and personality to your kitchen. However, tiling can be an intimidating task, especially if you have never done it before. With the right tools and tips, you can easily tackle a kitchen tiling project on your own.

Before you start your tiling project, it’s important to prepare properly. This includes measuring the area you want to tile, selecting the right tiles, and gathering all the necessary tools. Once you have everything you need, you can start laying the tiles. This involves spreading adhesive, cutting tiles to fit the space, and setting the tiles in place. Finally, you’ll need to add finishing touches, such as grout and sealant, to complete the project.
Key Takeaways:
- Proper preparation is key to a successful kitchen tiling project.
- Laying the tiles involves spreading adhesive, cutting tiles to fit, and setting them in place.
- Finishing touches, such as grout and sealant, are important to complete the project.
Preparing for Your Kitchen Tiling Project
Tiling your kitchen is a great way to add a touch of style and personality to your home. Whether you’re a seasoned DIYer or a beginner, it’s important to prepare properly before starting your project. Here are some tips to help you get started.
Measuring and Planning
Before you start your project, you’ll need to measure your kitchen to determine how much tile you’ll need. Measure the length and width of your kitchen and multiply the two numbers together to get the total square footage. Be sure to add 10% to your total square footage to account for waste.
Next, plan your tile layout. Consider the size and shape of your tiles, as well as the overall design of your kitchen. You can use online tools or software to help you visualize your design.
Selecting Tiles and Materials
When selecting your tiles, consider the style and color scheme of your kitchen. There are a variety of tile options available, including ceramic, porcelain, and natural stone. Each type of tile has its own unique characteristics, so be sure to choose the one that best suits your needs.
You’ll also need to select the right adhesive and grout for your tiles. Be sure to choose a high-quality adhesive that is suitable for your tile type. You’ll also need a spirit level, tile saw, drill, and other tools to help you install your tiles.
Gathering Tools and Equipment
Before you start your project, make sure you have all the tools and equipment you need. This includes a tile saw, spirit level, drill, adhesive, grout, tile spacers, and a trowel. You may also need a tile cutter, depending on the size and shape of your tiles.
When gathering your tools and equipment, be sure to choose high-quality products that are suitable for your project. #ichosebeaumonts is a great place to start when looking for high-quality tiles and materials.
By following these tips, you can ensure that your kitchen tiling project is a success. With a little planning and preparation, you can create a beautiful and functional kitchen that you’ll love for years to come.

Laying the Tiles
When it comes to DIY tiling, laying the tiles is one of the most important steps. Here’s a step-by-step guide to help you lay your kitchen tiles like a pro.
Applying Adhesive and Setting Tiles
Before you start laying your tiles, you need to apply adhesive to the wall or floor. Use a notched trowel to spread the adhesive evenly, and make sure you work in small sections to avoid the adhesive from drying out. Once the adhesive is applied, start setting the tiles in place. Use spacers to ensure that the tiles are evenly spaced and aligned.
Cutting Tiles to Fit
When you get to the edges of the wall or floor, you’ll need to cut the tiles to fit. Use a tile cutter or tile saw to make straight cuts, and use a file to smooth any rough edges. If you need to cut irregular shapes, you can use a tile nipper to make small cuts or a tile saw to make more complex cuts.
Tiling Around Obstacles
If you have obstacles such as electrical outlets or pipes, you’ll need to cut the tiles to fit around them. Measure the size of the obstacle and mark it on the tile. Then, use a tile saw or tile nipper to make the necessary cuts. Make sure you wear protective gear such as gloves and goggles to protect yourself from dust and debris.
When laying your tiles, make sure you follow a tile laying pattern that suits your design. You can choose from a variety of patterns such as straight, diagonal, herringbone, and more. Once you’ve laid all your tiles, let them dry for at least 24 hours before grouting.
In conclusion, laying tiles requires patience and attention to detail. By following these tips and using the right tools, you can achieve a professional-looking finish. Remember to wear protective gear, work in small sections, and take your time to ensure the best results.

Finishing Touches
After laying your kitchen tiles, it’s time to add the finishing touches to ensure your tiles look great and last for years to come. In this section, we’ll cover applying grout, cleaning and maintenance, and adding edging and sealant.
Applying Grout
Grout is an essential component of any tile installation project. It fills the gaps between the tiles and prevents moisture from seeping through. To apply grout, you’ll need a grout float and a sponge.
First, mix the grout according to the manufacturer’s instructions. Then, use the grout float to spread the grout over the tiles, making sure to fill all the gaps. Once you’ve applied the grout, use the sponge to wipe away any excess and smooth out the surface.
Cleaning and Maintenance
To keep your kitchen tiles looking their best, it’s important to clean and maintain them regularly. Use a mild detergent and warm water to clean the tiles, and avoid using abrasive cleaners that can scratch the surface.
In addition to cleaning, it’s important to inspect the tiles regularly for any signs of damage or wear. If you notice any cracks or chips, replace the affected tiles as soon as possible to prevent further damage.
Adding Edging and Sealant
Adding edging and sealant is the final step in finishing your kitchen tile installation. Tile edging is used to create a smooth, finished edge around the perimeter of the tiled area, while sealant is used to protect the tiles from moisture and stains.
When adding edging, make sure to choose a style that complements your tiles and fits the overall design of your kitchen. For sealant, choose a product that is specifically designed for use with your type of tiles.
By following these tips for applying grout, cleaning and maintenance, and adding edging and sealant, you can ensure that your kitchen tiles look great and last for years to come.
Frequently Asked Questions
What are some creative ideas for tiling a kitchen splashback?
Tiling a kitchen splashback can be an opportunity to add a creative touch to your kitchen. You can use different tiles to create a unique pattern or design. For example, you can use mosaic tiles to create a colourful and intricate design or use metallic tiles to add a modern touch. You can also use tiles of different shapes and sizes to create a unique pattern or use tiles with a textured finish to add depth and interest.
Can you provide a step-by-step guide to installing subway tiles as a splashback?
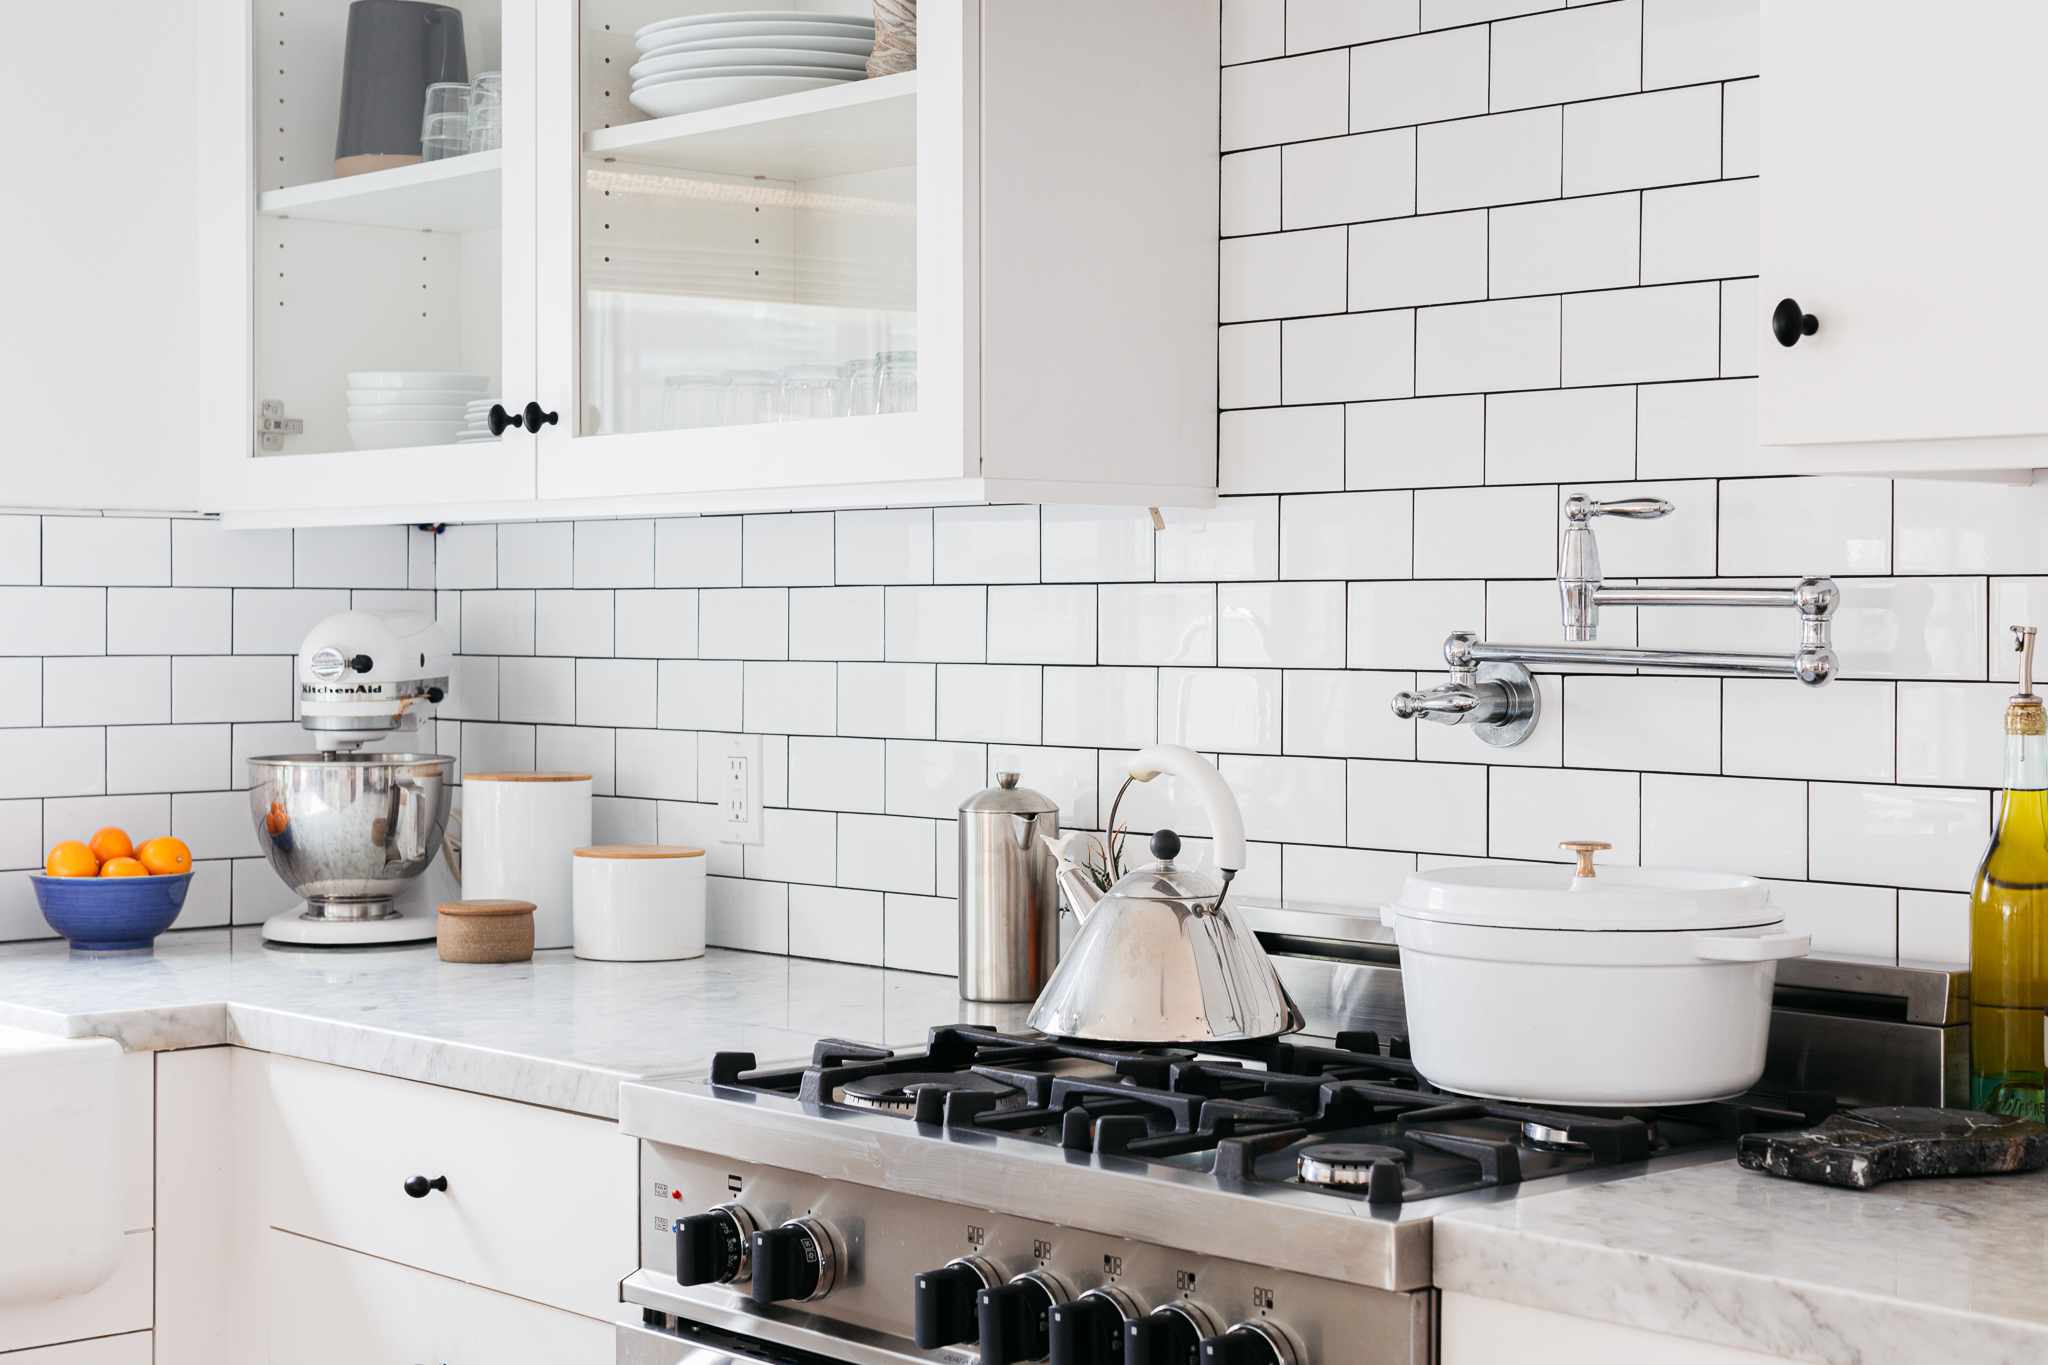
Installing subway tiles as a splashback is a relatively simple DIY project that can be completed in a weekend. First, measure the area where you want to install the tiles and purchase enough tiles to cover the space. Next, prepare the surface by cleaning it and removing any old tiles or adhesive. Apply adhesive to the surface using a notched trowel, then place the tiles on the adhesive, making sure they are level and evenly spaced. Once the adhesive has dried, apply grout to the gaps between the tiles using a grout float. Finally, wipe away any excess grout with a damp sponge and let it dry.
What are the best practices for installing a kitchen backsplash I can find on YouTube?
YouTube is an excellent resource for DIY tutorials, and you can find many helpful videos on installing a kitchen backsplash. Some best practices for installing a kitchen backsplash include measuring the area carefully, preparing the surface properly, using the right adhesive and grout, and taking your time to ensure the tiles are level and evenly spaced. It’s also a good idea to watch a few different videos to get a sense of the different techniques and approaches you can use.
How do I properly tile a splashback using mosaic tiles?
Tiling a splashback using mosaic tiles can be a bit more challenging than using larger tiles, but the results can be stunning. First, measure the area where you want to install the tiles and purchase enough mosaic tiles to cover the space. Next, prepare the surface by cleaning it and removing any old tiles or adhesive. Apply adhesive to the surface using a notched trowel, then place the mosaic tiles on the adhesive, making sure they are level and evenly spaced. You may need to cut some of the tiles to fit around corners or edges. Once the adhesive has dried, apply grout to the gaps between the tiles using a grout float. Finally, wipe away any excess grout with a damp sponge and let it dry.
Are stick-on tiles a viable option for a kitchen splashback, and where can I find them?
Stick-on tiles can be a quick and easy option for a kitchen splashback, but they may not be as durable or long-lasting as traditional tiles. If you decide to use stick-on tiles, make sure you choose a high-quality product that is designed for use in a kitchen. You can find stick-on tiles at most hardware stores or online retailers.
What type of tiles are recommended for an easy kitchen tile installation?
If you’re looking for an easy kitchen tile installation, consider using subway tiles or larger ceramic tiles. These types of tiles are relatively easy to install and require less cutting than smaller or more intricate tiles. They are also widely available and come in a variety of colours and finishes, making it easy to find a style that suits your kitchen.
Have a enquiry about Tiles?
Fill out the form below and one of our tile expert will get back to you.


